
Jul 15
Rob
Please Download the PDF here:
- INTRODUCTION
The toss bomb delivery is initially complex to achieve due to high pilot workload, but it is worth
practicing to proficiency as it has many advantages. The main advantage of the toss bomb is that it
minimises exposure of the striker to enemy air defences by ensuring some stand-off from the target
area. Planned appropriately, it is also possible for the striker to remain hidden at low level on the run
in, until the pull-up for weapon launch. Combining a well-planned guided weapon toss attack with
jammer use, countermeasures and SEAD, allows for a relatively high probability of kill.

- CHECKLIST AND AIRCRAFT SETUP (PAVEWAY)
Passing the IP, conduct the Bomb Arm Checks prior to 10nm to run to the target (‘AMPWACD’ nonmonic):- Altimeter – QNH set, HUD to BARO (‘Altimeter’)
- A/G MASTER MODE – SELECT (‘Mode’)
- TGP – On, Code set, displayed Right MFD (‘Pod’)
- Laser Arm Switch – Arm
- Station – Select (‘Weapon’)
- Mode – AUTO EFUZ – INST
- CODE – Set, cross check TGP
- QTY, MULT, INT – SET as required
- MASTER ARM – ARM (‘Arm’)
- Countermeasures – SET (‘Countermeasures’)
- TGT – DESIGNATE (‘Designate’)
Continue to the run in to the target and refresh the target brief:
‘Run in heading 085 degrees. Target safety height is +5,000ft target altitude. Off target right for laser to 135 degrees.’
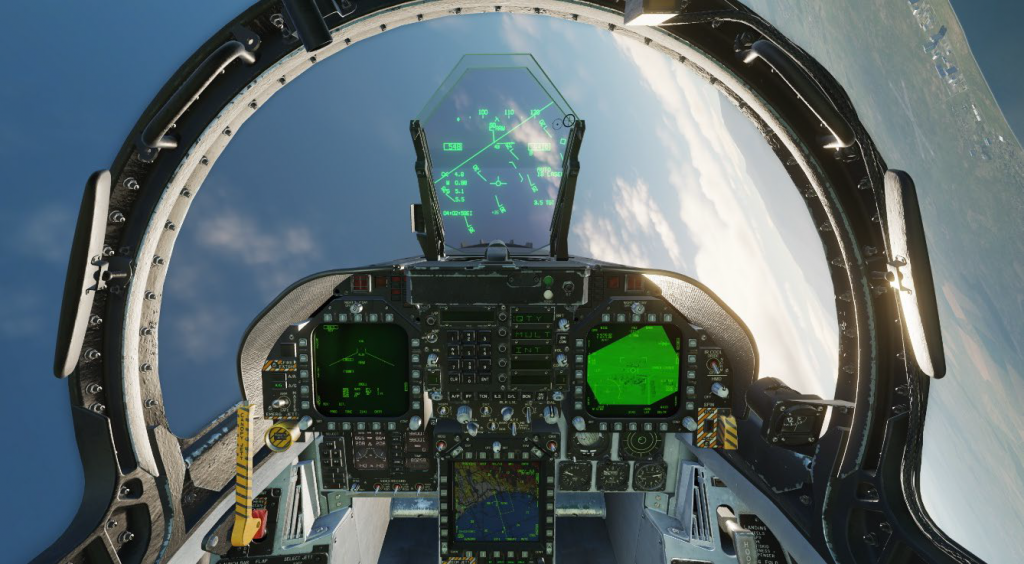
- PAVEWAY TOSS DELIVERY MECHANICS
At 10nm to run, confirm attack heading, laser arm and ensure speed is 540 KCAS (+/- 20).
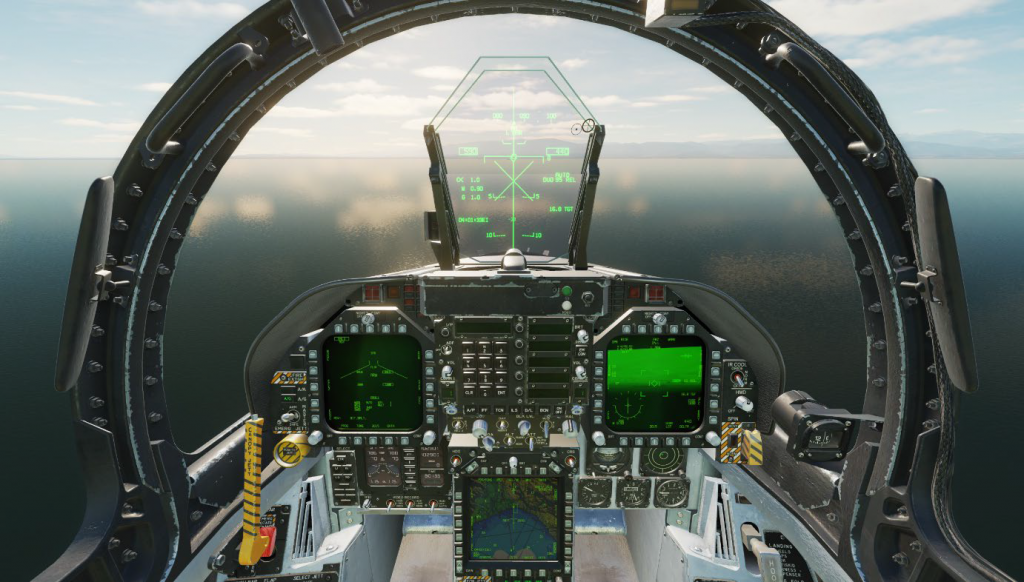
At 6nm to run, select MAX A/B. At 5.5nm commence 3g pull-up centred on the ASL. The pull will be continued until after weapon release has occurred. If your g is too low or high, correct smoothly with more of less aft stick respectively.
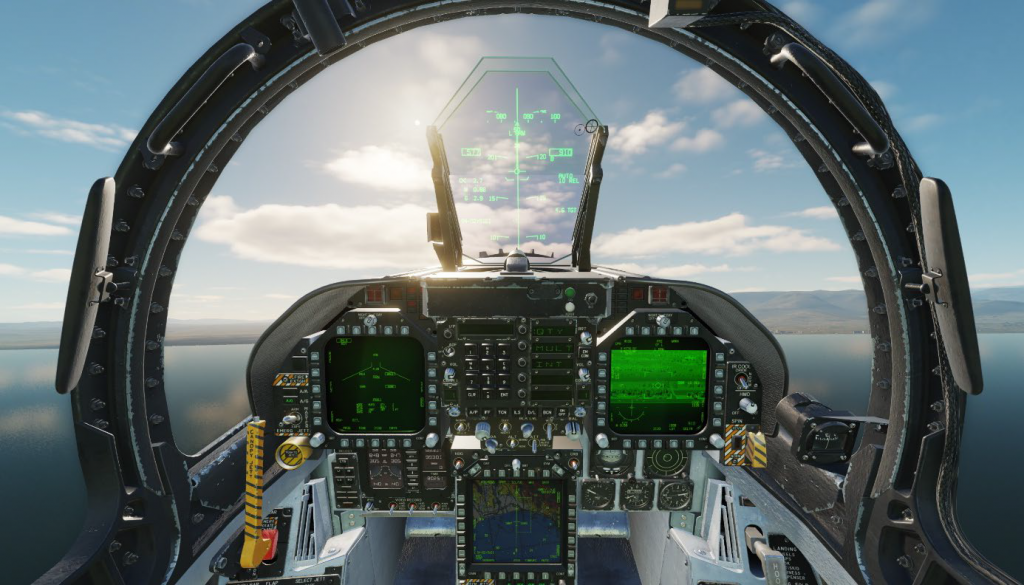
As the VV passes the dive bars, initiate the countermeasure program then immediately press and hold the pickle button, continuing the smooth 3g pull. If your parameters are correct, the release cue will appear as the nose passes 25 degrees pitch and release will occur around 30 degrees nose up. Do not ease the pull or release the pickle button until you are sure the weapon release has occurred.
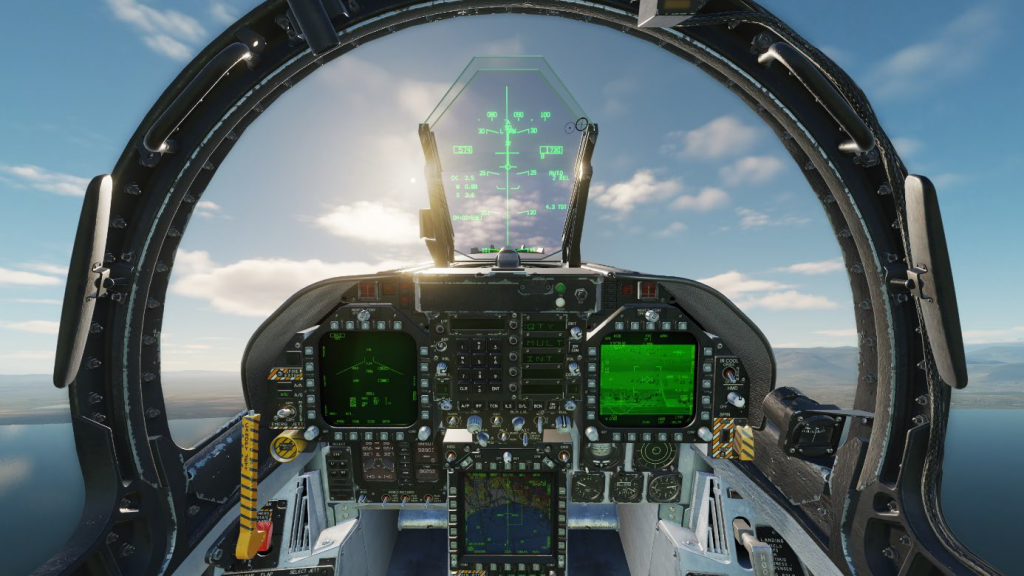
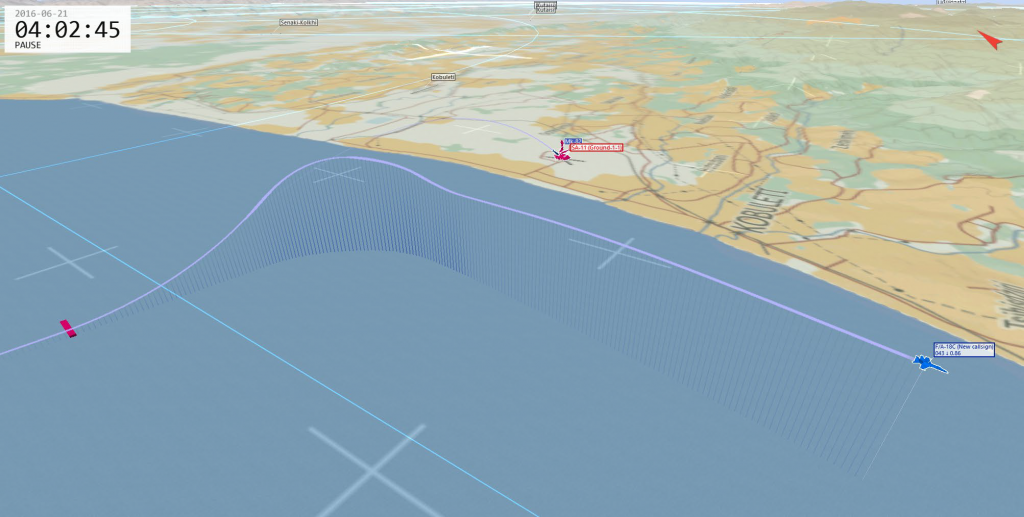
After weapons release, centre the stick to stop the pull (nose should be approximately 32-35 degree pitch up), roll to 120-150 degrees AOB in the desired direction, then stand the throttles up (reduce to 50% travel) as you pull the nose down with 4 to 5g to the horizon.
As you reach the horizon, roll-off the over-bank to stay level and turn to the off-target heading. Roll out on the off-target heading, level the wings and confirm the laser activation on the TPOD display (flashing LTD/R after the ‘X LASER’ counter reaches zero). Activate the countermeasure program again if required.
Keep your speed between 450 and 480KCAS until weapon impact; the reduced throttle after weapon release helps achieve this. It is critically important, in addition to reducing the power in the pull down, to achieve the right off target heading. If the power is too high, the aircraft will accelerate such that the target may move too far behind the aircraft for the laser and cause TGP masking. In the same way, turning past the off-target heading will also cause the pod to be masked. Also ensure you do not descend; this may reduce the chances of the laser giving a good spot to the bomb or cause your laser to be obscured by objects around the target.
The ballistic trajectory for a toss-delivered 2000lb LGB falls short of the target by around 500-1000ft. As the weapon picks up the laser it will correct for this undershoot, which will cause the time of flight to be longer than the countdown on the TGP. Expect weapon impact 3-4 seconds after the timer (TTI) reaches zero. If flown correctly, the target be approximately 3.5nm form the striker, in the 4/8 o’clock position when the weapon impacts (130 degrees off aircraft heading to the target at impact). The closest the striker should be to the target is 2.5nm; this gives reasonable stand-off from AAA and MANPAD threats.
- JDAM TOSS DELIVERIES
Tossing a JDAM is an excellent way of maintaining radar and threat avoidance for the maximum time. The mechanics of the toss delivery are very similar for a JDAM as a Paveway (PW), with a few important exceptions.
First, the Bomb Arm Checks. Use the TGP as desired, and conduct a normal JDAM setup with either TOO or PP. The ‘designate’ step will not be required for a PP delivery.
In the target brief, as the JDAM is fire and forget, brief what ever egress plan is desired. It can be beneficial to egress in an almost 180 degree turn if desired.
Run in and initial 3g pull-up is as per the PW delivery (540 KCAS, 5.5nm pull-up). In the pull-up however, the second major difference arises; do not press the pickle button until the ‘IN RANGE/IN ZONE’ cue appears and your pitch attitude is at least 25 degrees nose up.
Following weapon release, conduct the same initial manoeuvres as the PWII off-target (120 degree AOB, 4-5g) except turn on to the desired egress heading and resume low-level once safe to do so. - MK 82 TOSS DELIVERY
To perform a Mk 82 toss, you must account for the propensity of the Mk 82 to go long. To achieve this, set up and attack an OAP that is 700ft on the reciprocal of your attack heading (that is, 700ft short of the target).
Flying the toss for a Mk 82 is the same as the PW delivery until weapons release, when the JDAM egress technique may be employed.
- Mk 84 TOSS DELIVERY
To perform a Mk 84 toss, you must account for the propensity of the Mk 82 to go long. To achieve this, set up and attack an OAP that is 500ft on the reciprocal of your attack heading (that is, 500ft short of the target).
Flying the toss for a Mk 84 is the same as the PW delivery until weapons release, when the JDAM egress technique may be employed. - CBU-99 TOSS DELIVERY
Perhaps one of the most effective uses of a toss delivery is against a SAM system. Tossing a CBU will allow you a good chance of performing effective DEAD, especially when other options tend to meet heavy resistance (e.g. HARMs, JSOWs). To perform a CBU toss, you must account for the propensity of the CBU to go long. To achieve this, set up and attack an OAP that is 500ft on the reciprocal of your attack heading (that is, 500ft short of the target).
It is recommended that the CBU be programmed for a burst height around 500-1000ft.
Flying the toss for a CBU is the same as the PW delivery until weapons release, when the JDAM egress technique may be employed.


Where else on the internet could you get this level of information for a flight sim 🙂